How Monat Haters are Right, But Oh So Wrong

Let me start by saying that I am technically a Monat Market Partner.  My knowledge of Monat is not as good as others in the company, which is why I chose to go about the situation in the post below the way I did.  I tried to look at this as objectively as possible, but at the same time, I'm a real person. 

Photo May 24, 3 45 25 PM.png

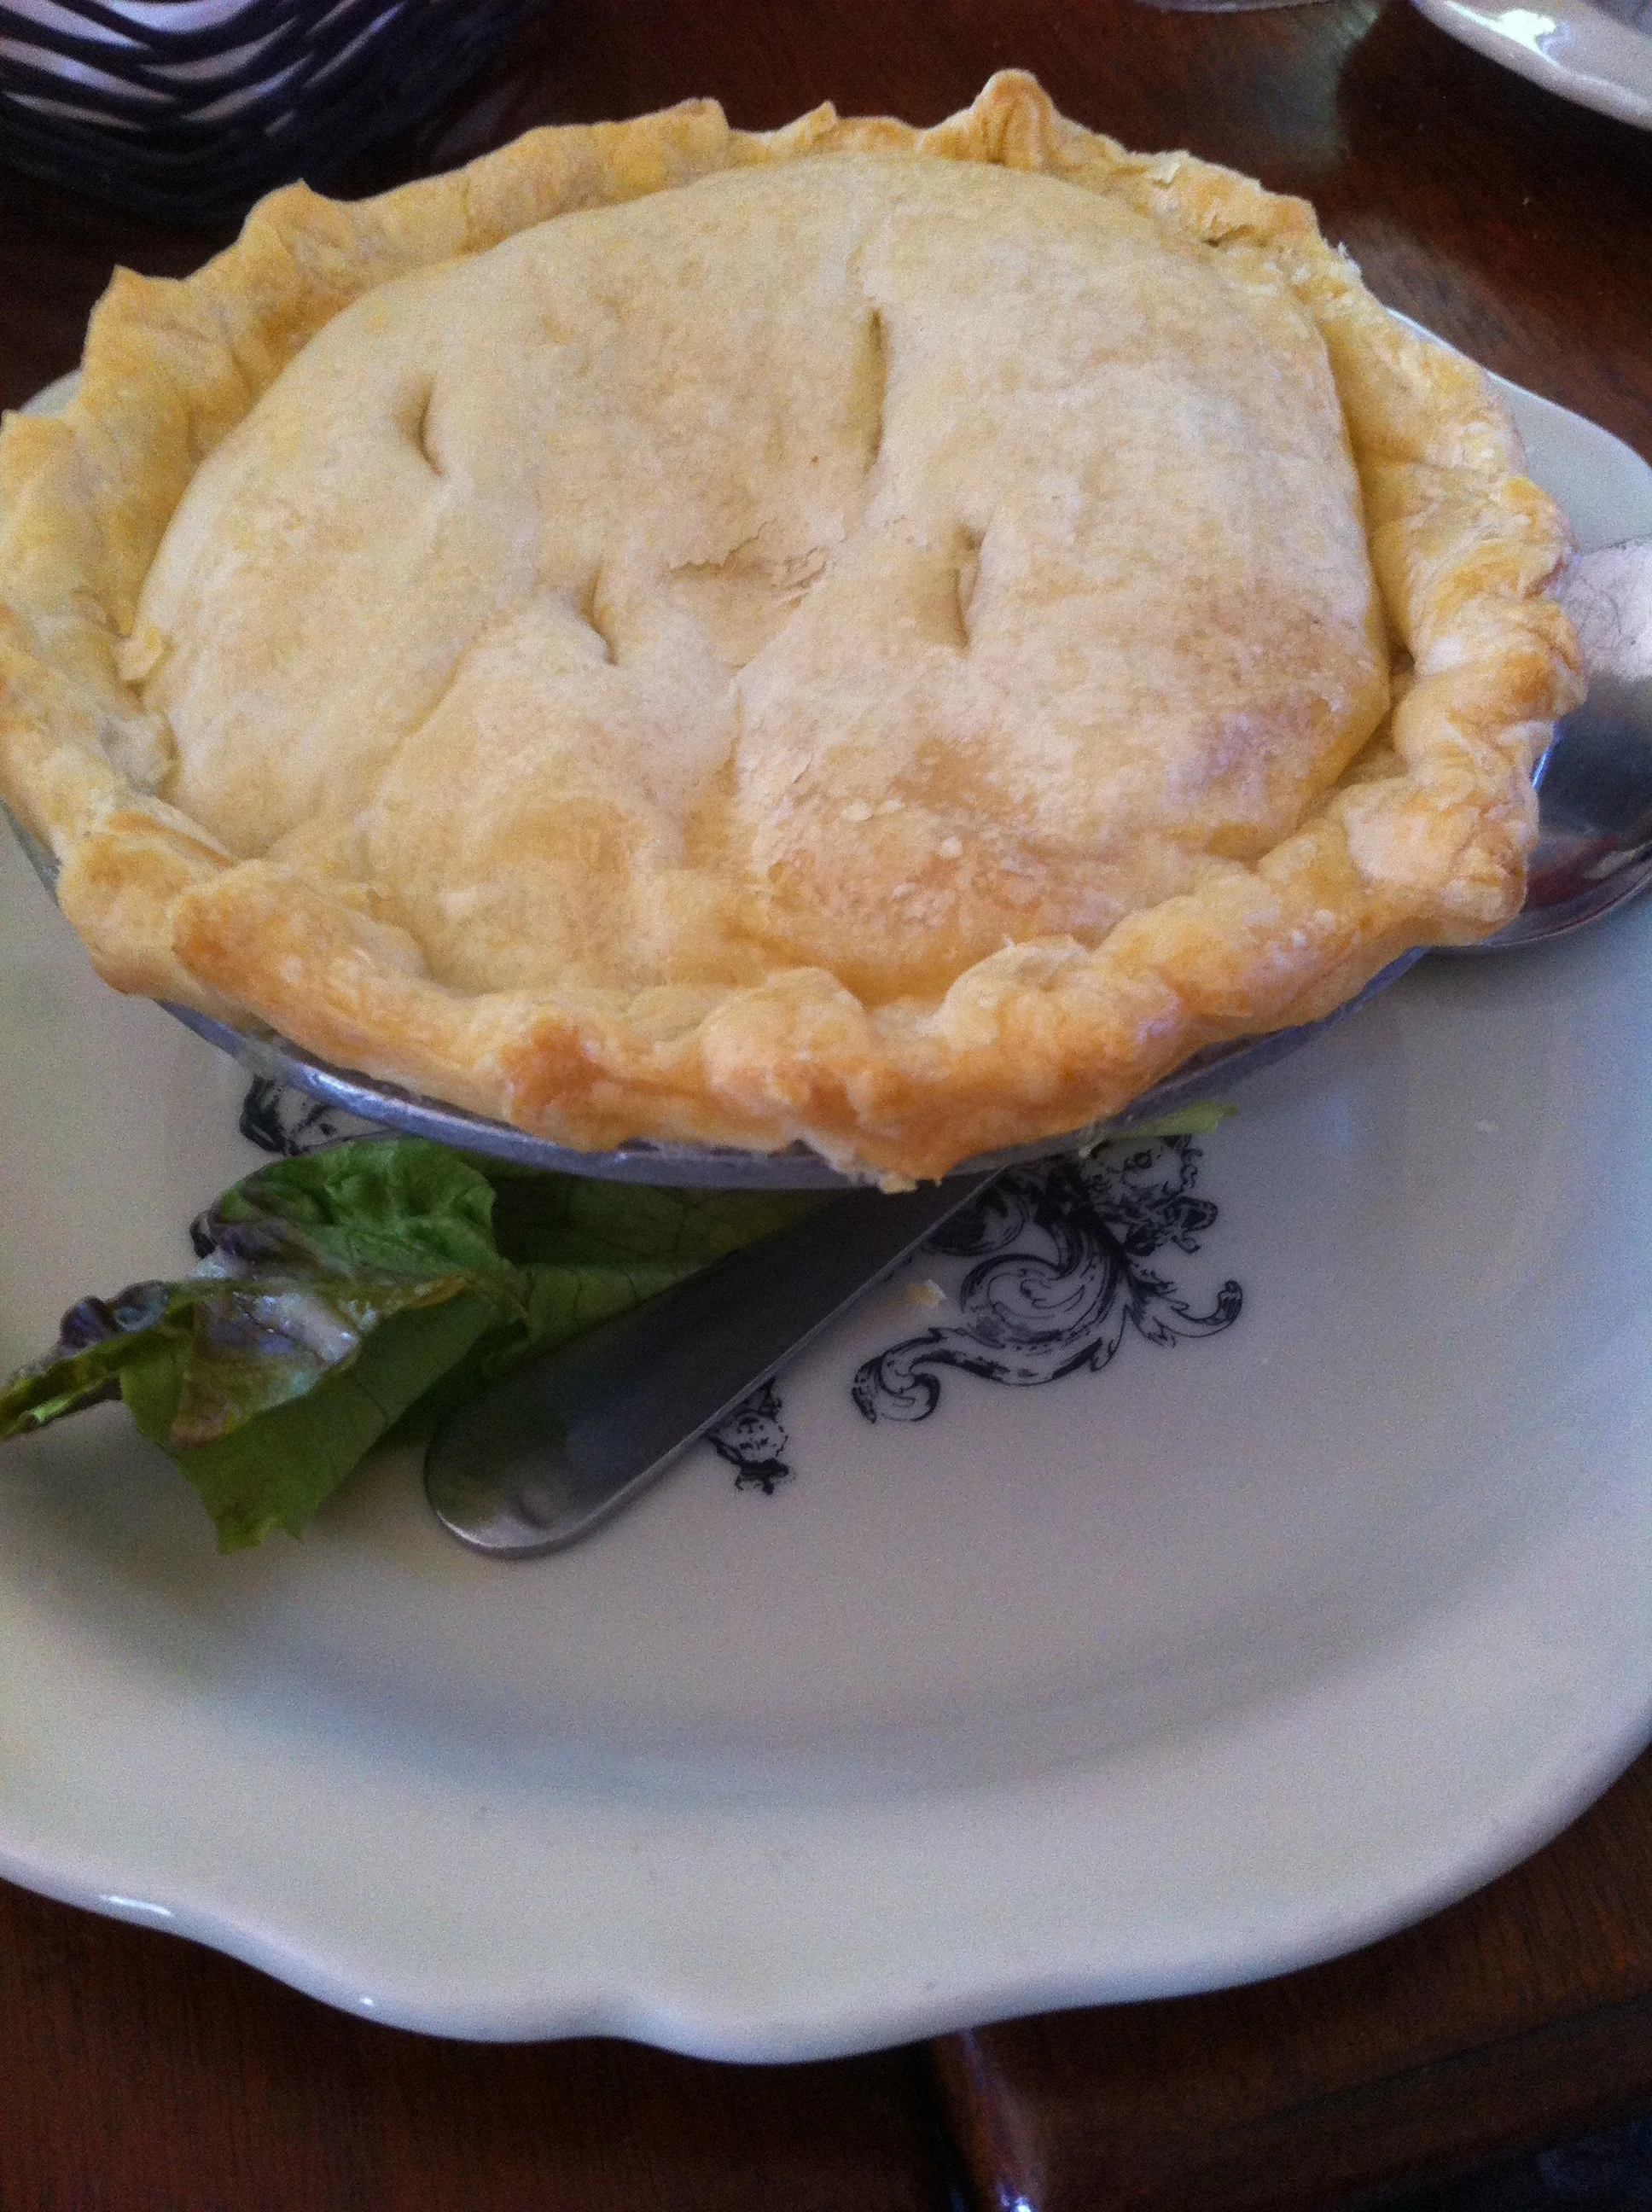
Soooo last week I decided to talk about Monat in a blog post for the first time.  I shared my favorite 4 Monat products based on my personal experience over the last 9 months and the needs of my hair.  What happened afterward was interesting, or awkward, or maybe even a little disappointing.  

I posted to my Instagram stories to promote my post and my salon saw it.  We follow each other.  I love bragging about how awesome everyone there is on Instagram.  Their stylists are so dedicated to their art and I love their passion for what they do.  They truly have an amazing team working for them.  

I've chosen to not show the salon name out of respect for those who work there.  Throwing them under the bus isn't classy.  I really just wanted real answers.

I've chosen to not show the salon name out of respect for those who work there.  Throwing them under the bus isn't classy.  I really just wanted real answers.

So I was a little surprised when they decided to message me on Instagram regarding my post.  What if I chose to use Redkin or some other salon product?  Would they have still felt the need to reach out to me in this way?  My guess is probably not.  They probably would have let it go, but I posted about Monat, a company that is a threat to the natural products they sell.  The products at the salon I go to (or went to) are great and people love them, but they made me itchy and they just weren't for me.  My hair was happier when I used something cheap from the grocery store so I stopped using their products for that reason. But all of that is beside the point.  

I felt a little offended and sat and thought about how I wanted to respond or if I even wanted to respond.  Several hours went by and I figured my 2018 word is Rise so let's give them the benefit of the doubt.  I messaged them back asking my haircare professionals to give me a little more info.  I never got it.  

I took it upon myself to do a little more research just like they suggested so that I could get the "complete story".

So let's talk about their allegations and how they're right and oh so wrong.

Allegation 1: Monat is not FDA approved

After diving into this a little more turns out Monat isn't FDA approved.  They're right.  You know why?  Because cosmetics aren't regulated in that way by the FDA.  The ingredients however are FDA approved.  Maybe this information below provided on a fact sheet about Monat products will help clear that up a bit. 

  • Monat has sold over 14 million units of product in the United States alone. Monat has created unique product formulations, containing ingredients that have been tried, tested, and used in the cosmetics industry and that have been found to be safe for consumer use, in the concentrations Monat uses them, by the Cosmetic Ingredient Review (CIR). The U.S. Food and Drug Administration, as well as the cosmetic and beauty industry world-wide, rely on the safety findings of the CIR, and leading companies use ingredients, in concentrations, determined by CIR to be safe. Other ingredients used by Monat are all known to experts in the industry to be safe for use in cosmetics. All MONAT formulations use ingredients, in concentrations, that CIR, the FDA, Health Canada, and the European Commission consider “safe for their intended cosmetic purpose.” 

Allegation 2: Monat has estrogen

They never told me what those ingredients were after that message back to them, but I did end up figuring it out on my own.

Monat has Capixyl.  This Capixyl is formulated with small amounts of Red Clover Extract.  Red Clover Extract is a phytoestrogen (yes! A plant based estrogen).  What people (stylists and other haters) are saying is that by letting this sit on your skin, that you are absorbing all this extra estrogen that is going to just completely mess with your hormones, which is going to result in cancer and wide variety of other hormonal issues.  

Actual research is telling me anytime you eat broccoli, carrots, legumes, oranges, or drink coffee or tea, you're ingesting phytoestrogens.  Coffee y'all.  I'm done for apparently according to the haters.

But nobody is drinking their shampoo.  If you are, you've got a whole other set of issues you should probably be more worried about and a bottle of wine would be way cheaper.  Just saying.  

So are dangerous levels of phytoestrogen being absorbed through your skin when you use Monat products?  The short answer is no.  Just so happens I had an OB/Gyn annual appointment yesterday and I took it upon myself to just ask my doctor while I was there if that was a possibility.  I explained to her the situation and she kinda just looked at me like it was completely insane.  Her opinion as a medical professional specializing in women's care was that we eat phytoestrogens all the time and if we did happen to absorb any of the phytoestrogens from the shampoo into our skin, that it wouldn't be enough to effect our hormone levels.  I left her office confident in my decision to break up with my now ex hair salon.

Side Note: If you are genuinely concerned about phytoestrogens in your shampoo, talk to your healthcare professional and see what they say.  Don't take my word.  Don't take your stylists word.  

Allegation 3:  There are a slew of lawsuits surrounding this product due to it causing hair loss

This is true.  There are some class action lawsuits that have been filed with this stated as the reason, but the word "slew" seems a little extreme in my opinion.  To my knowledge the outcome hasn't been determined in any of those cases.  I don't personally know anyone that has lost hair due to Monat (or at least not to my knowledge).  Saying anything else about those lawsuits would be pure speculation and unfair so I'll stop there.

Final thoughts

What I will say is that these products work for me and my hair type.  I am someone who is getting the desired results.  I lost a ton of hair with the crazy hormones following each of my children's births and Monat is growing that hair back.  My hair is healthy and strong and growing fast.  Heck, even my ex salon that said I shouldn't use the products was always so impressed with how healthy and fast my hair was growing at each appointment (at least before they knew what I was using).  I actually feel like my hormones are finally getting back on track post children and have noticed nothing negative in that area.  I'm also not drinking my shampoo though and tend to stick to red wine, Topo Chico, and phytoestrogen filled coffee instead (in no particular order).

The number of people who claim issues is so tiny in comparison to the number of people currently loving their hair due to switching to Monat.  If you try it and and don't love it, stop using it, like I did with the salon products I was getting before I started using Monat.  We're all big girls capable of making simple decisions like what shampoo to use.  You do you and if you think Monat might be something you want to try, don't forget to click the links below.


Interested in Ordering?

The Easiest Chicken Pot Pie Ever

When I said I was going to start blogging I had decided I was going to try to post every Tuesday to start.  You know what today is?  Not Tuesday.  I'm blaming it on my children.  Who's with me? 

Also for anyone who is curious, I haven't cried in yoga since my last blog post.  I definitely look at yoga a little differently than I used to which is pretty cool, but no tears have been shed.

I made chicken pot pie last night.  It wasn't fancy, nothing about it was healthy really, but it was delicious and sometimes that's really the only requirement.  Yeah sure I'd prefer some fresh ingredients and all sorts of time to prepare, but the reality is that is just not where we are some days and thowing this thing together is just too easy and leftovers never sit in the fridge long enough to get thrown away.  

It's so easy in fact, that it's completely possible you already have every single ingredient in your house.  We lived with the in-laws for 6 months in between houses and one evening we all just kind of looked at each other like "what's for dinner?"  Nothing.  Every protien was frozen and it just wasn't going to happen.  I found pie crusts in the freezer and canned chicken, veggies, and cream of chicken in the panty.  That's literally all this thing really needs to make it work.  Like I said, it's not fancy.  

Speaking of fancy, let's all appreciate this chicken pot pie I ordered at a restaurant in Colonial Williamsburg nearly 4 years ago...

Disclaimer: I didn't make this.  I only ate it, which I felt bad about.

Disclaimer: I didn't make this.  I only ate it, which I felt bad about.

It's like a work of art.  I felt guilty sticking a fork in it.  This is not what my chicken pot pie looks like.  

I personally prefer to use rotisserie chicken for basically everything.  Somebody already cooked it, it's a good amount of chicken, and the price is generally right.  I also have a cheese problem so I put cheese in the mixture tonight (totally optional) and then an egg for the egg wash is not pictured below.  Canned chicken can easily be used in place of rotisserie and I've also used a bag of frozen veggies in place of the veg-all.  It's really just whatever you want or whatever you already have.  Heck, you could even use real fresh veggies.

Photo May 17, 5 00 40 PM.jpg

Ingredients:

1 - Rotisserie Chicken (or can of chicken)

1 - Can of Cream of Chicken Soup

1 - Can of Veg-All (or bag of frozen veggies)

1 cup - Cheese (or amount of your liking and just whatever kind you like)(optional)

2 - Pie crusts

1 - egg


Getting started:

Preheat your oven to 425 degrees.  I'm generally winging it on this depending on what the pie crust box says.

Photo May 17, 5 02 14 PM.jpg

Drain juice from the rotisserie chicken into whatever mixing bowl you plan to mix the pie filling in and then shred the chicken completely and add it to the bowl.

Photo May 17, 5 19 19 PM.jpg

Drain water from the can of vegetables and add vegetables, cream of chicken and cheese to the mixture.

Photo May 17, 5 22 25 PM.jpg

Mix it well.

Next start getting your bottom pie crust into the pie plate.

Photo May 17, 5 33 37 PM.jpg

Dump the filling

Photo May 17, 5 35 44 PM.jpg

Use your fingers to wet the edges of the pie crust with water to allow the top crust to stick better to the bottom crust.  Unroll and place the top crust on top of the pie, using your fingers to pinch the bottom and top crusts together.  

Cut extra pie crust from the top crust and throw it away.

Cut slits into top crust.

Photo May 17, 5 40 59 PM.jpg

Next up is the egg wash and my daughter's favorite part.  Whisking is one of her favorite activities.  The first time I ever read about an egg wash, I had to google it.  It's just whisking an egg and brushing it on.  

Photo May 17, 5 44 39 PM.jpg
Photo May 17, 5 45 24 PM.jpg

Bake in oven for the first 20 minutes with the edges of the pie covered.  We used foil because we were at my parents' house, but we have these pie crust sheilds at home that I just put over the pie.  You can buy them below or find them later on Monica's Amazon Favorites page. 

After the 20 minutes just remove the crust shield (or foil if you went that route) and continue to bake until the crust is a good golden color.  I just keep checking on it from time to time until it's how I want it.  You can tell we went a little heavy on the egg wash.  There's really no wrong way to do this.

Photo May 17, 6 38 09 PM.jpg

Ready to eat.

Photo May 17, 6 51 26 PM.jpg

If you try it, let me know what you think.  I almost didn't think it was blog worthy, but my mom and grandma have been asking to try this for ages and they seemed to completely approve so here it is. 

Also, please excuse the iphone photos. They're breaking my photographer heart, but it is what it is.

Fixer Upper Style For My Windows on the Cheap

Ask me who I'd like to be right now and my asnwer is probably Joanna Gaines minus a few kids because let's be real, two is enough for me.  

An episode of Fixer Upper from season 2 is my inspiration for our latest home improvement project.  I always wanted to do this in our old house, but life never really allowed or rather, we didn't make time.  

See that wood header piece above the window?  I wanted something like that on our otherwise boring windows.

Screen Shot 2018-05-03 at 12.06.52 PM.png

We don't have curtains for a couple of reasons.  1. Tyler hates them and 2. his allergies are terrible.  Curtains are just one more thing that collect dust and as cute as they are, we've just opted not to do them mostly (I actually have a pair in the dining room and Saida's room).  But this means my windows were so not cool and so boring and weren't really contributing anything to our home in terms of style or character.  Not to mention our home is a brand new home void of much in the way of character to begin with.  So I decided to do this simpliest version of this idea that I could think of.  

2018-05-03_0001.jpg

So this was literally as simple as buying wood, cutting it to size, staining it, and screwing it to the wall.  There really isn't anything special about the wood we bought.  I didn't even poly it.  I was really just thinking how do I do this as cheap as possible with as little work as possible and still get something I think looks really cool.  

Next on the list for this room is a rug and maybe a large house plant. 

Side note:  Why are rugs so expensive?  Where do I find an affordable one that doesn't suck? And how do I know how big of one to buy?  I suck at rugs.

OKAY LET'S BREAK DOWN HOW TO DO THIS

STEP ONE: Measure your windows.

In my personal opinion you have two options here.  One is to have a piece of wood for each window and the other is to do like I did here and have a piece of wood for each set of windows.  I measured window sill edge to window sill edge because I wanted a little bit of overhang and that just made sense to me as a simple way to decide on a measurement.

Once I had all my measurements, I took into account how long the boards are at Lowe's and started figuring out how many window treatments I could get per board.

STEP TWO: Family Trip to Lowe's 

Get however many boards you've determined you need.  I'm pretty sure ours are 1x8s, but really you can just get whatever fits the look you're going for.

Wood Stain.  I used a combo of Minwax Weathered Oak and Early American.  1 part Weathered Oak and 3 parts Early American.  I also found a sponge next to the stain that I used to apply the stain once mixed.

Screws - We used black sheetrock screws just because I like to accent with black and it goes with what's happening in our home.  Make sure you buy something that isn't too long, but is going to go through whatever board you choose and still be able to secure to the wall. 

Drop Cloths - Depending on where you plan to do the staining of the wood, I'd definitely invest in a drop cloth or something to protect the floor of wherever the staining is happening.

Sand paper - we used a pretty fine sand paper

STEP THREE: Cut and sand the wood

The cutting part was Tyler's job.  I gave him measurements and told him which pieces were supposed to come out of each board and he went for it.

The sanding is really just so the wood will take the stain and you can remove any sharp edges.  I sanded off all sharp edges of my boards because that's the look I wanted.  I took a wet cloth to my boards afterwards just to remove some of the dust.  Sanding as many boards as I had took forever so I stopped for the day and came back to stain another day.

STEP FOUR: Stain the wood

Again I mixed one part Weathered Oak to three parts Early American and then generously applied the stain with a sponge to one board at a time going with the grain of the wood.  I let it sit for about 7 minutes and wiped it away with the grain of the wood.  I love how the knots in the wood absorbed more stain and really gave the wood some character.

2018-05-03_0002.jpg

STEP FIVE: Find a really cute young thing to do the install for you.

Photo Mar 18, 5 34 06 PM.jpg

Just kidding.  But for real though, this could take a couple people depending on how much space you're covering.  We got ours lined up the way we wanted them, made sure they were level, and that we were screwing into a stud.  We also mounted ours down just enough to cover the mechanical part of the blinds.

breakfast-3984.jpg
breakfast-3980.jpg

And that was it.  Now we have Fixer Upper worthy windows instead of ugly builder windows for way less than traditional window treatments would have ever cost.

breakfast-3974.jpg