Fixer Upper Style For My Windows on the Cheap
Ask me who I'd like to be right now and my asnwer is probably Joanna Gaines minus a few kids because let's be real, two is enough for me.
An episode of Fixer Upper from season 2 is my inspiration for our latest home improvement project. I always wanted to do this in our old house, but life never really allowed or rather, we didn't make time.
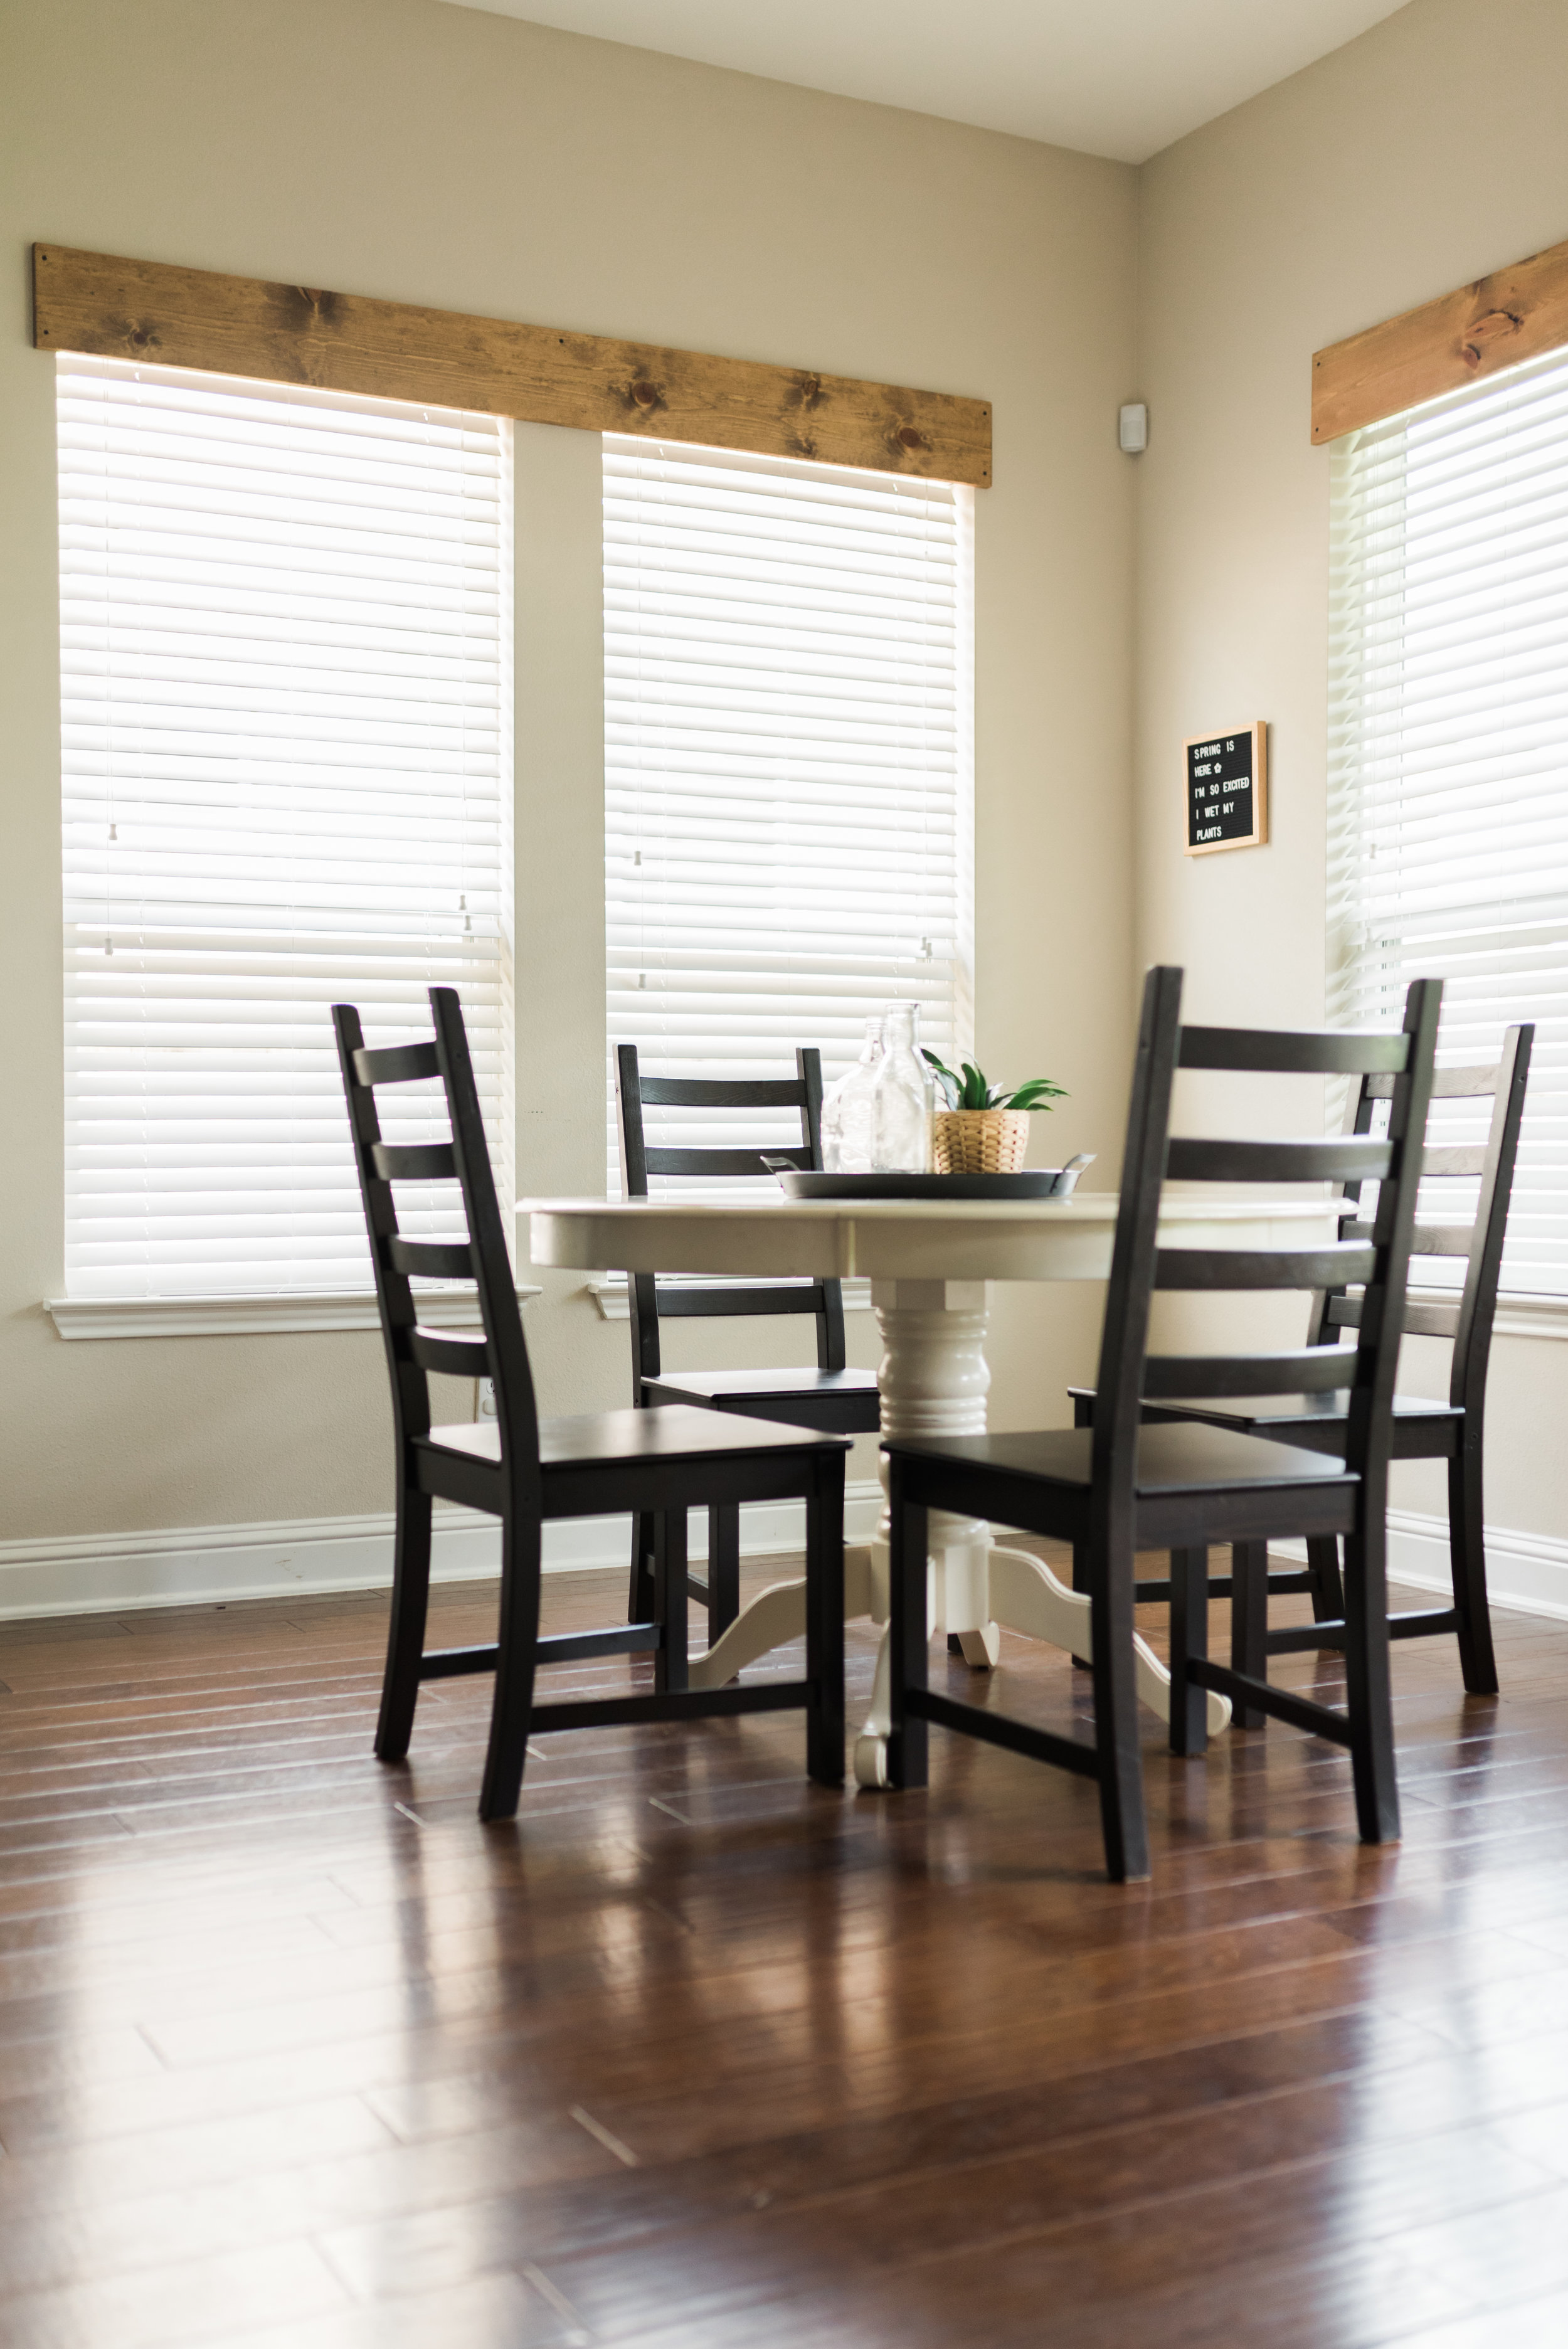
See that wood header piece above the window? I wanted something like that on our otherwise boring windows.

We don't have curtains for a couple of reasons. 1. Tyler hates them and 2. his allergies are terrible. Curtains are just one more thing that collect dust and as cute as they are, we've just opted not to do them mostly (I actually have a pair in the dining room and Saida's room). But this means my windows were so not cool and so boring and weren't really contributing anything to our home in terms of style or character. Not to mention our home is a brand new home void of much in the way of character to begin with. So I decided to do this simpliest version of this idea that I could think of.
So this was literally as simple as buying wood, cutting it to size, staining it, and screwing it to the wall. There really isn't anything special about the wood we bought. I didn't even poly it. I was really just thinking how do I do this as cheap as possible with as little work as possible and still get something I think looks really cool.
Next on the list for this room is a rug and maybe a large house plant.
Side note: Why are rugs so expensive? Where do I find an affordable one that doesn't suck? And how do I know how big of one to buy? I suck at rugs.
OKAY LET'S BREAK DOWN HOW TO DO THIS
STEP ONE: Measure your windows.
In my personal opinion you have two options here. One is to have a piece of wood for each window and the other is to do like I did here and have a piece of wood for each set of windows. I measured window sill edge to window sill edge because I wanted a little bit of overhang and that just made sense to me as a simple way to decide on a measurement.
Once I had all my measurements, I took into account how long the boards are at Lowe's and started figuring out how many window treatments I could get per board.
STEP TWO: Family Trip to Lowe's
Get however many boards you've determined you need. I'm pretty sure ours are 1x8s, but really you can just get whatever fits the look you're going for.
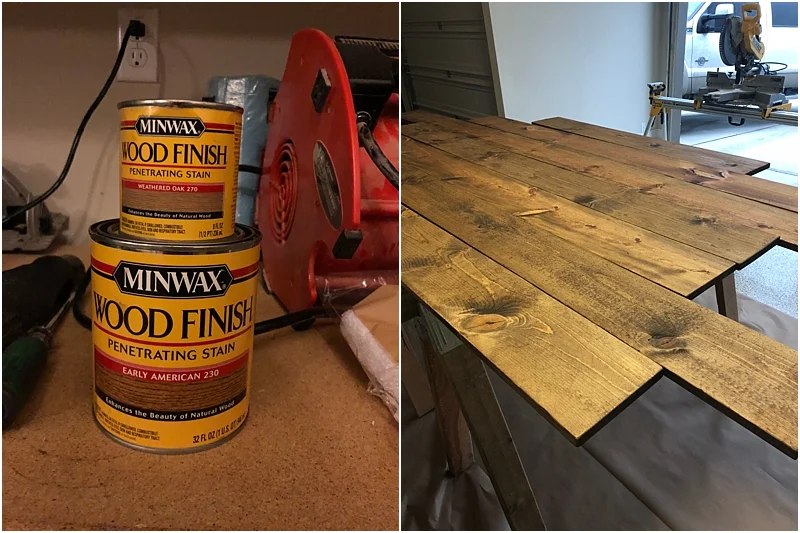
Wood Stain. I used a combo of Minwax Weathered Oak and Early American. 1 part Weathered Oak and 3 parts Early American. I also found a sponge next to the stain that I used to apply the stain once mixed.

Screws - We used black sheetrock screws just because I like to accent with black and it goes with what's happening in our home. Make sure you buy something that isn't too long, but is going to go through whatever board you choose and still be able to secure to the wall.
Drop Cloths - Depending on where you plan to do the staining of the wood, I'd definitely invest in a drop cloth or something to protect the floor of wherever the staining is happening.
Sand paper - we used a pretty fine sand paper
STEP THREE: Cut and sand the wood
The cutting part was Tyler's job. I gave him measurements and told him which pieces were supposed to come out of each board and he went for it.
The sanding is really just so the wood will take the stain and you can remove any sharp edges. I sanded off all sharp edges of my boards because that's the look I wanted. I took a wet cloth to my boards afterwards just to remove some of the dust. Sanding as many boards as I had took forever so I stopped for the day and came back to stain another day.
STEP FOUR: Stain the wood
Again I mixed one part Weathered Oak to three parts Early American and then generously applied the stain with a sponge to one board at a time going with the grain of the wood. I let it sit for about 7 minutes and wiped it away with the grain of the wood. I love how the knots in the wood absorbed more stain and really gave the wood some character.
STEP FIVE: Find a really cute young thing to do the install for you.

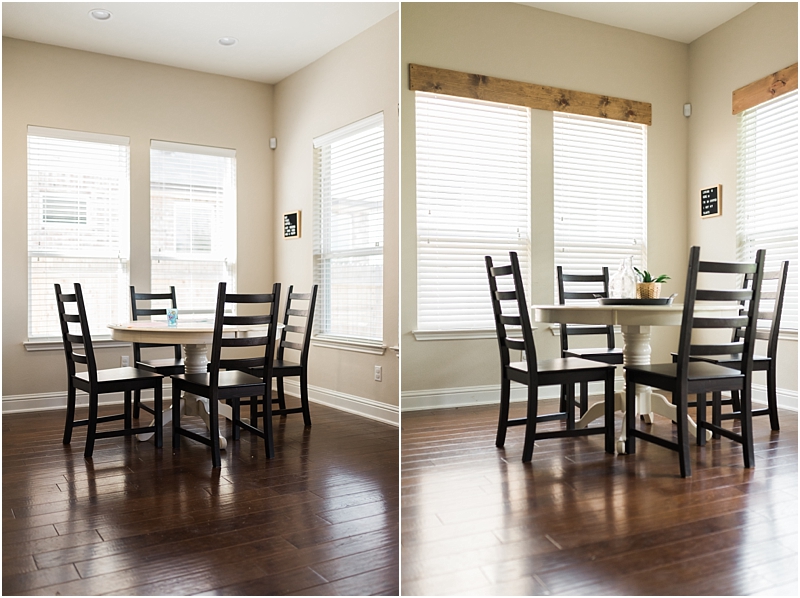
Just kidding. But for real though, this could take a couple people depending on how much space you're covering. We got ours lined up the way we wanted them, made sure they were level, and that we were screwing into a stud. We also mounted ours down just enough to cover the mechanical part of the blinds.


And that was it. Now we have Fixer Upper worthy windows instead of ugly builder windows for way less than traditional window treatments would have ever cost.